Vehicle maintenance is one of the essential areas to look at when it comes to using a car. Mostly, the plastic trims are the most ignored parts, which usually become less bright and even fade due to sun exposure. This piece intends to discuss in an organized way the steps that are to be followed under a specialized course for the healing of the vehicle and plastic flashing by using the procedures of tools and knowledge.
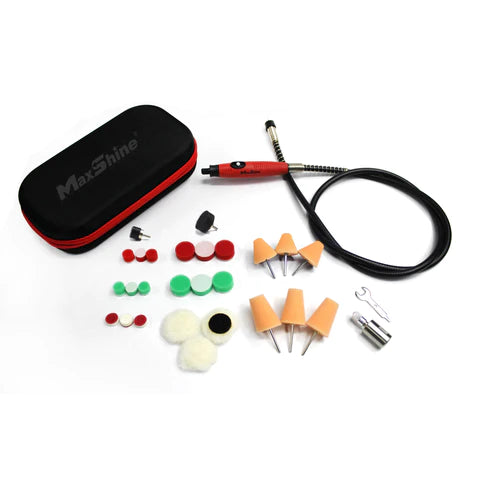
1. Gather the Necessary Materials
Before you start the actual polishing of the plastic, it is necessary to first get all the necessary materials. The following are the items necessary to carry out this job:
-
Plastic trim cleaner
-
Microfiber towels
-
Plastic trim restorer
-
Applicator pads
-
Polishing compound
-
Protective gloves
-
Safety glasses
2. Clean the Plastic Trim
The first and most crucial step to do is clean the plastic trim thoroughly. This sweep away any dirt, dust or clay remaining that has been accumulated in the polishing process. One should:
-
Wash the trim using soap and water
-
Use a specialized plastic trim cleaner for stubborn stains
-
Dry the trim completely with a microfiber towel
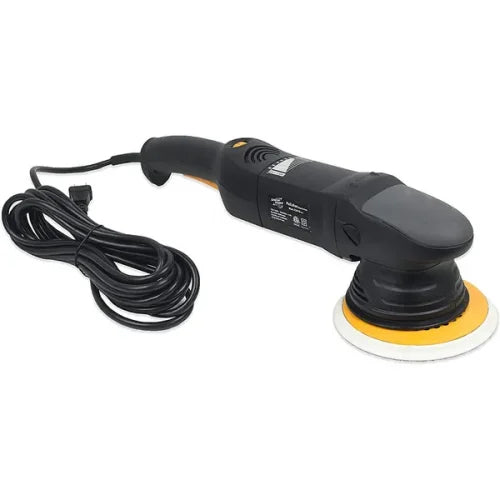
3. Prepare the Polishing Equipment
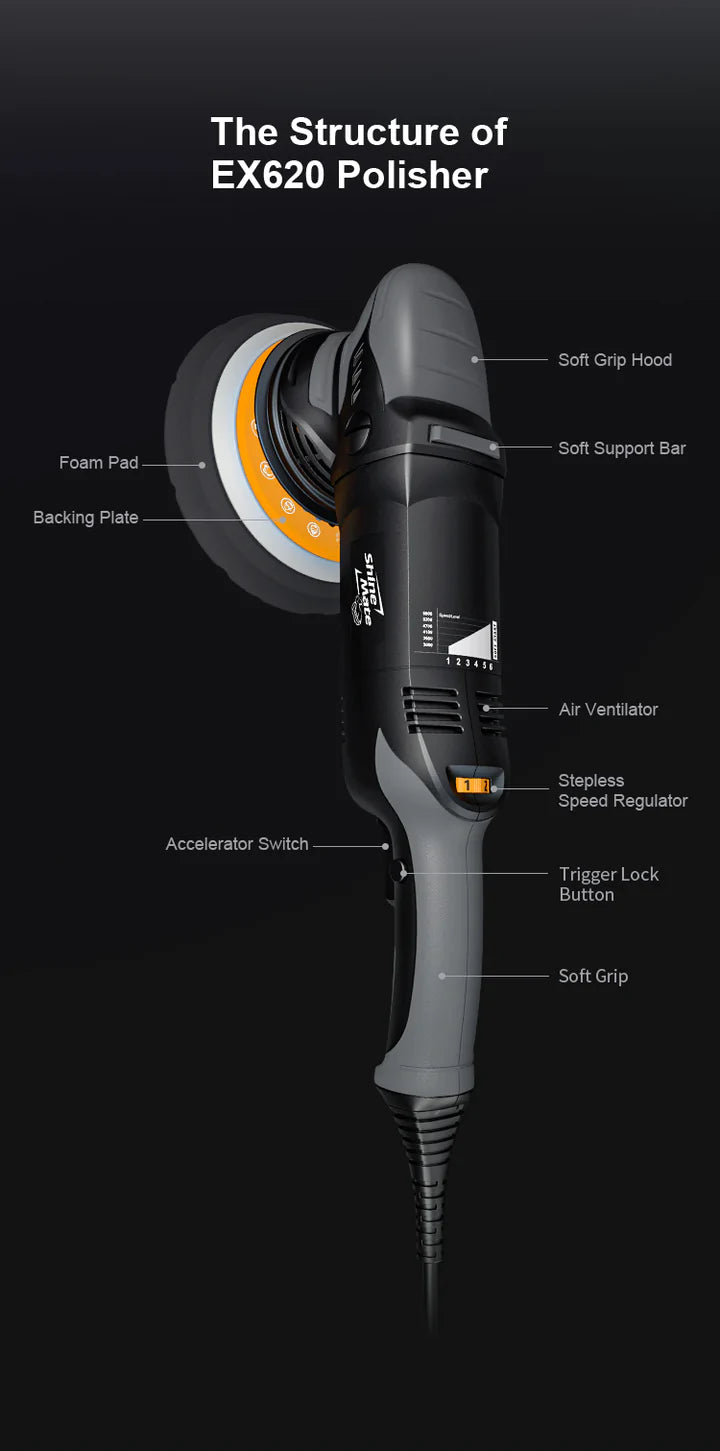
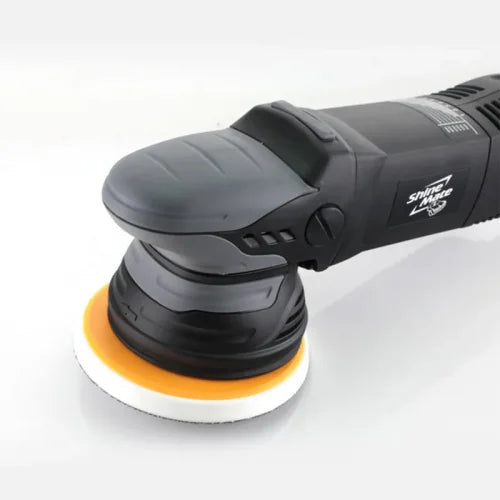
Having the plastic trim clean and dry, the next thing is to prepare the polishing equipment. This involves choosing the right backing plate for the polishing machine. The backing plate is the pad, which sits between the polishing pad and the machine, and it helps in the even distribution of the pressure on every square foot.
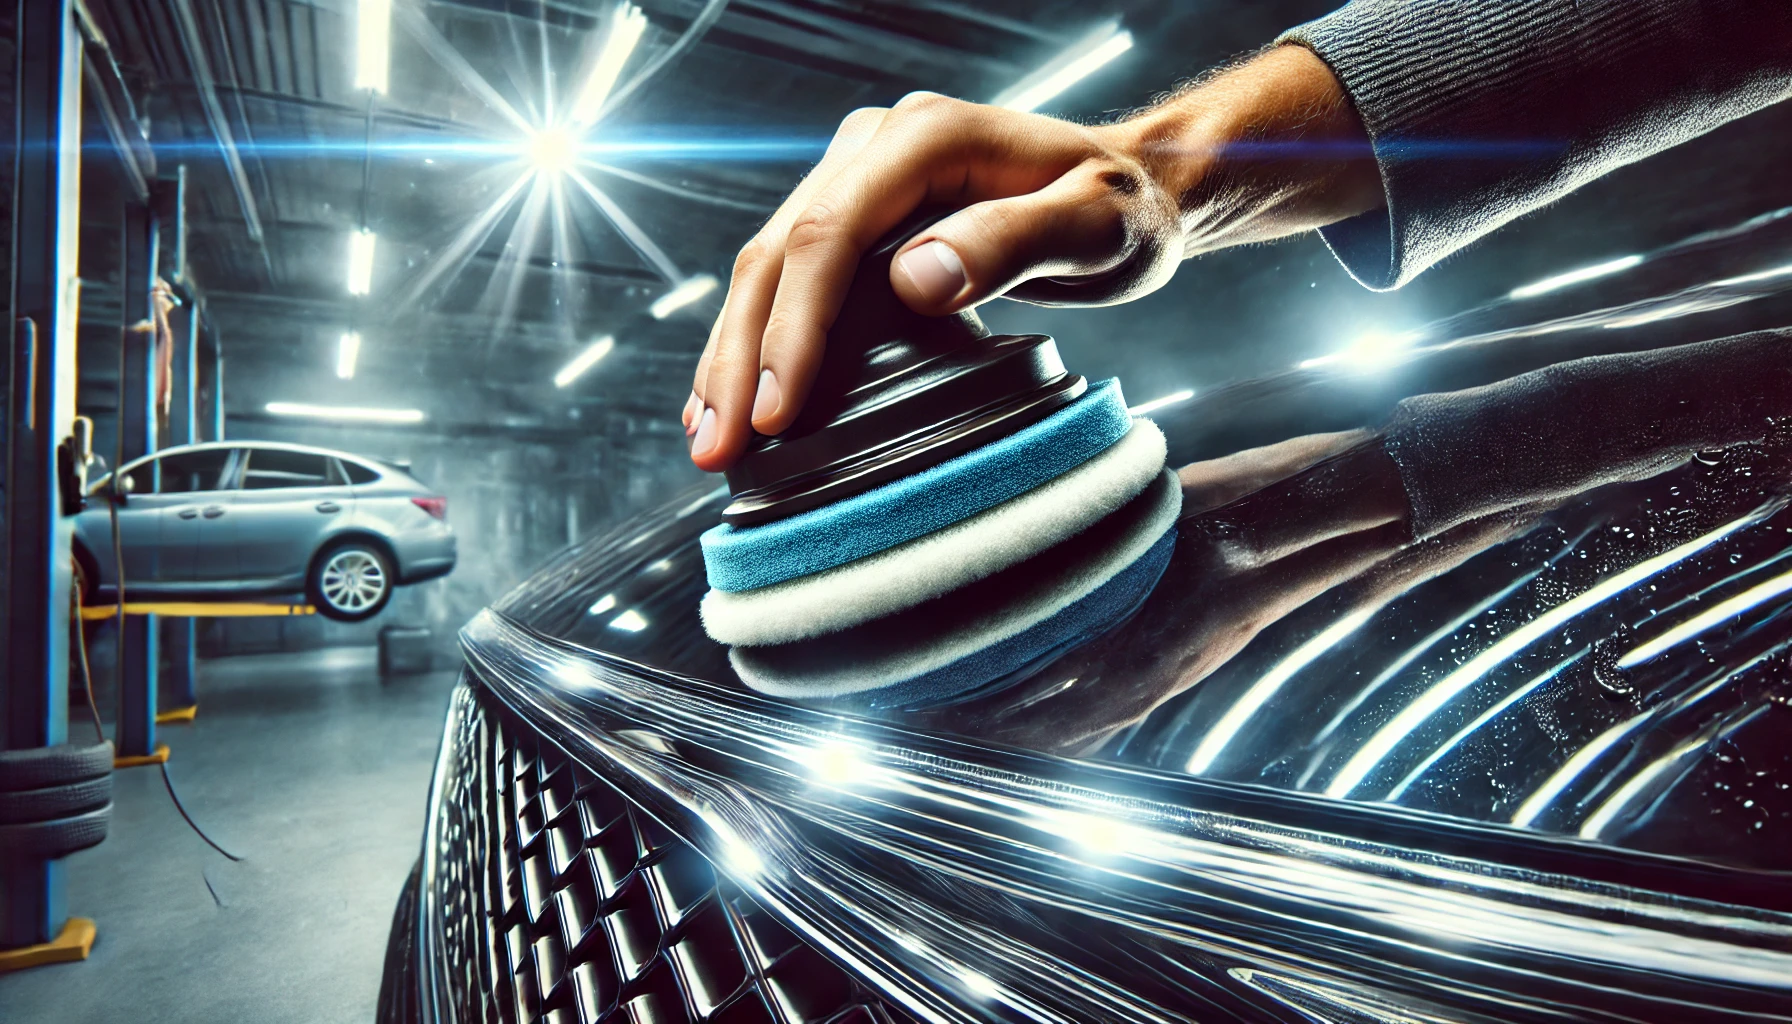
4. Choose the Right Polishing Pad
First and foremost, the correct car polishing pads have to be chosen if one is to obtain the desired results. The pads can take different forms, e.g., foam, wool, and microfiber, yet the distinction comes about due to the texture and polishing level of the materials. For cleaning plastic trim a gentle conditioner should be used because it will not scratch the surface.
5. Apply the Polishing Compound
With the needed equipment already out, it's time to polish now. Start with a small amount only, to not oversaturate. The compound assists in the removal of ingrained dirt and minor scratches in the plastic trim.
You can also read about Top Car Cleaning Accessories of 2025
6. Begin Polishing
Initiating the process of polishing involves the proper way of applying the technique. You are expected to:
-
Set the polishing machine to a low speed
-
Work in small sections, moving the machine in overlapping patterns
-
Apply light pressure to avoid damaging the trim
-
Gradually speed up the machine, as you feel necessary
7. Inspect and Repeat if Necessary
Because on an area of the trimmed part that has been polished, there should be a check for the polished parts when the polishing is done. If your car still doesn't look shiny enough, experiment with the process a second time. However, don't overdo the polishing. This will compromise the plastic material.
8. Apply Plastic Trim Restorer
Once the polishing process is over, applying the plastic trim restorer will not only protect the newly polished surfaces but will also improve their appearance. The product should be used exactly as it is instructed by the producer, most probably with an applicator pad.
9. Allow the Trim to Dry
Following the application of the restorer, it is crucial that the trim is left to dry out fully. The time of waiting may be different, but in general, several hours are required, depending on the product and the environment. In the meantime, the car should be placed in a shaded area that is away from contact with pollutants.
10. Final Inspection and Touch-ups
Drying of the trim followed by a thorough inspection is another important step that must be accomplished. Another area that might have been skipped or where there are defects can be handled in this step.
11. Maintenance Tips
For a good lifespan of polish on the plastic trim of the car use these maintenance tips:
-
Easy cleaning with a mild soap solution is one of the best ways you could do it.
-
Avoid hard chemicals or amred soft cleaners
-
UV protectant - one layer is good for a few months but you can reapply it
-
Choose to park in areas with more shade when only possible to prevent the sun causing some harm
12. When to Seek Professional Help
It is true that DIY polishing is sometimes good and professional help is needed in some cases:
-
Deep and thick damage or oxidation but not too deep
-
When you don't have enough time or the right tools and materials.
-
This is a cause of you not being sure of the right method you should use.
-
There should be a true desire to see the car being finished, regarding highly technical works too.
13. Environmental Considerations
Car Polishing pads the trim of plastic materials asks for a correct consideration of the environment, where the waste materials should be properly disposed off and the eco-friendly products should be used where possible. In this way, the process not only protects the environment but also ensures the safety of the people around you.
Working on the core parts of the automobile i.e. "trim – Polishing" is an art that needs a lot of patience, in addition to the right tools and the correct skill. Apart from adherence to this guideline and getting the proper equipment, it is advisable for car owners to reclaim the view of their machine by doing replenishing the plastic trim, which also gives a shinier look and the car could grow its value to some extent. Being careful with your car and a little bit of attention and care given, in the same way you do to the repairing you did, will encourage them to sustain your gleaming car for as much time as you want it to.
